
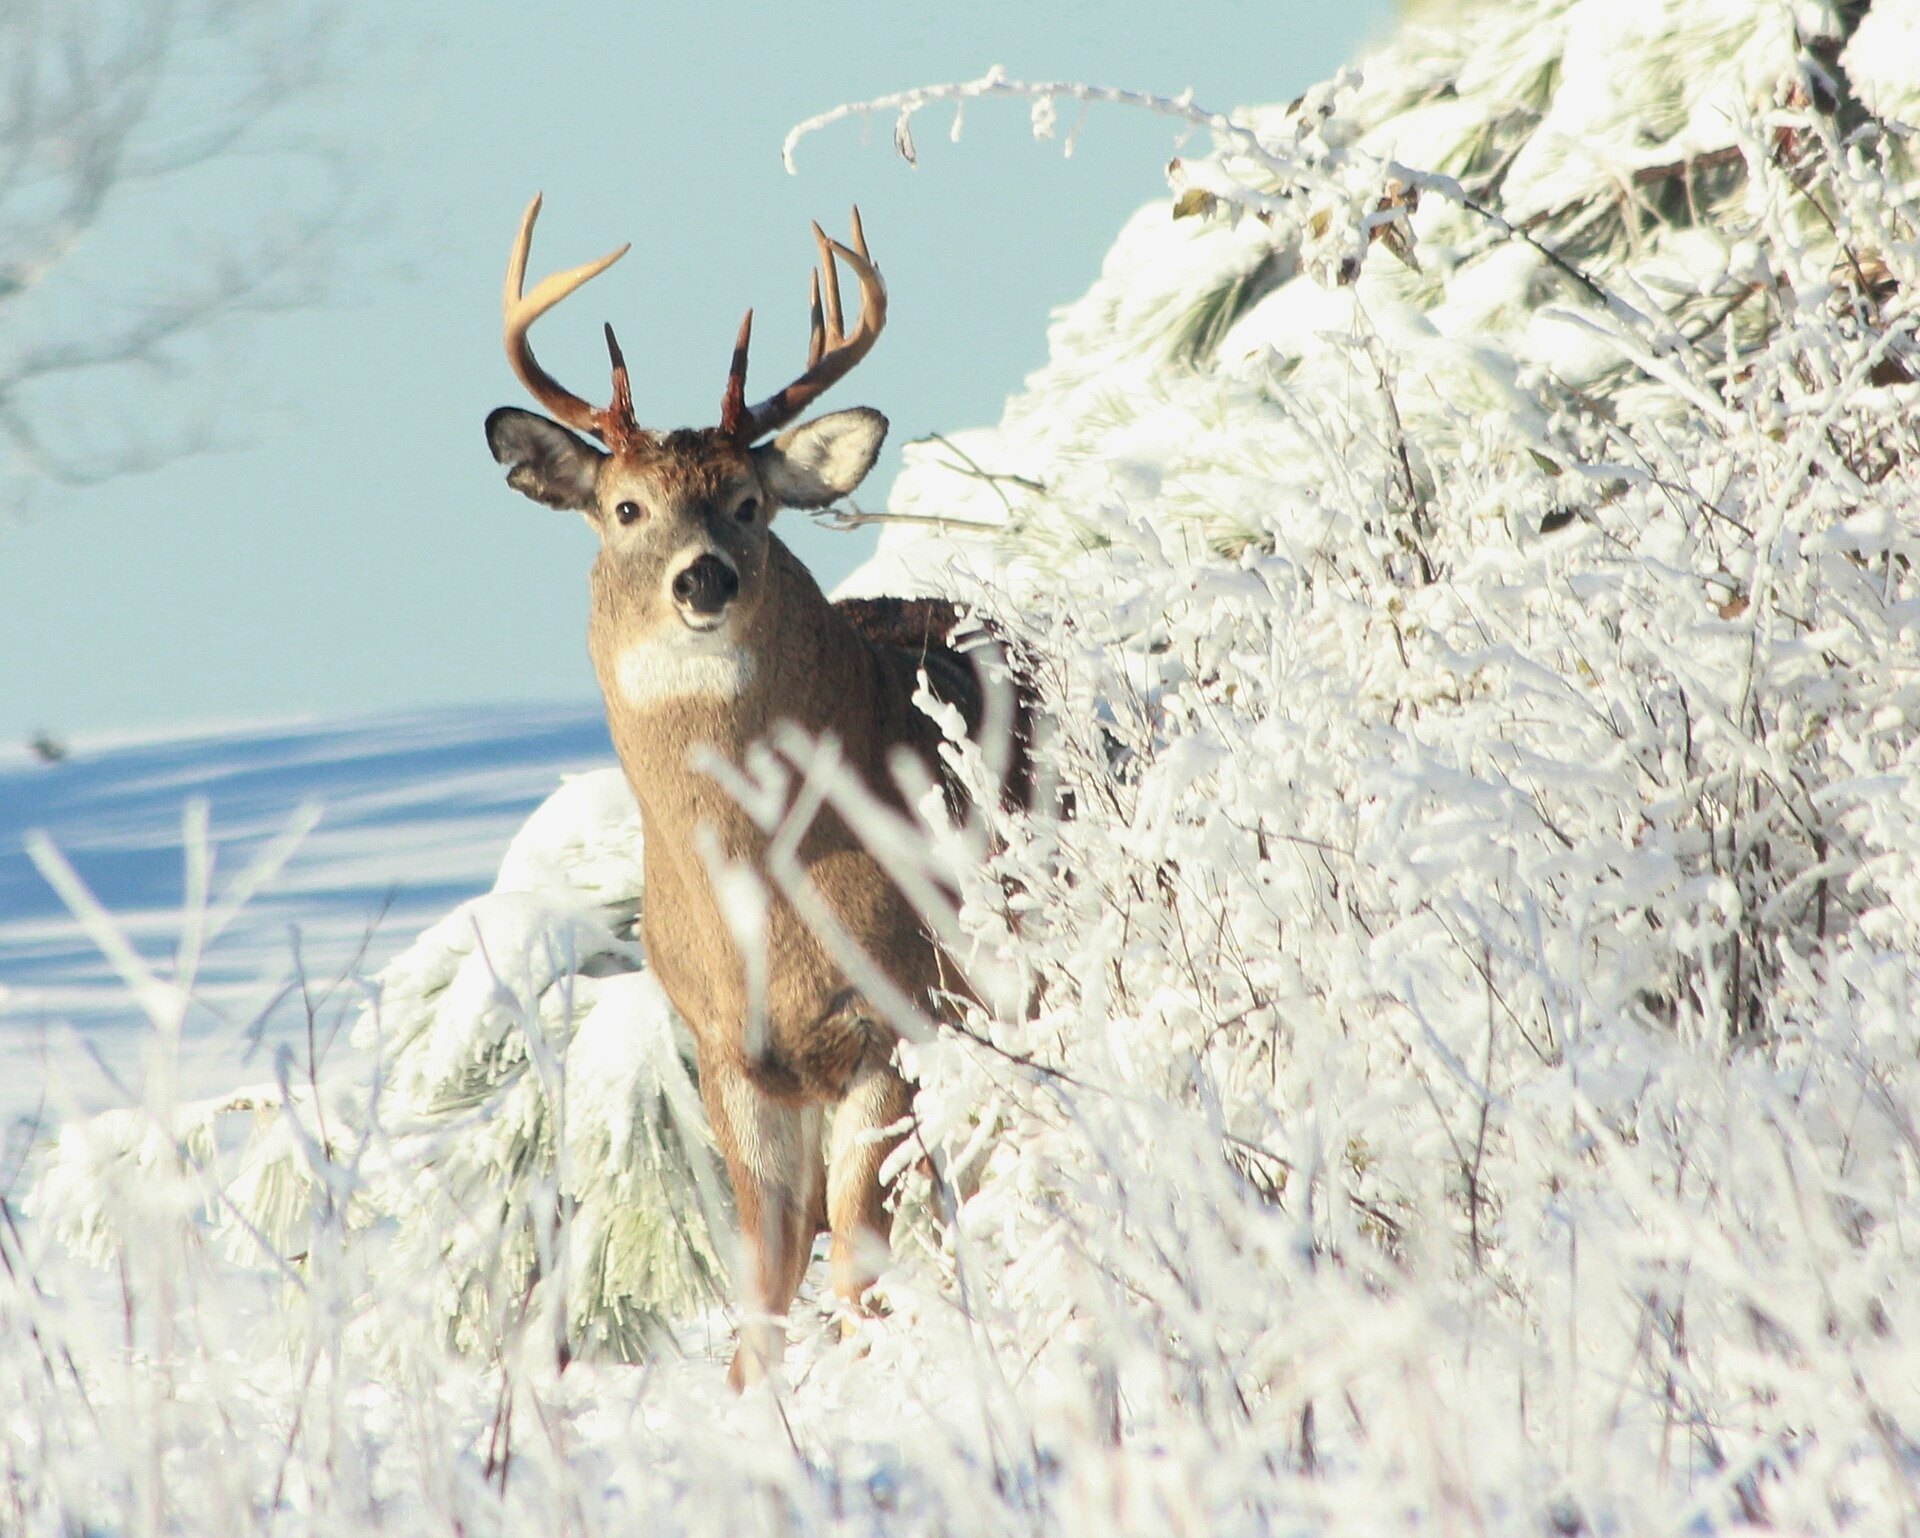
Every taxidermist we have spoken to says the same thing in slightly different words: the mount is decided in the field, not on the bench. A skilled studio can hide a lot of sins, but it cannot put hair back on a cape that has slipped, and it cannot rebuild an ear that was torn off by a drag rope. The first few hours after a legally taken animal is down are the most important hours in the whole process. Here is what we have learned about getting them right.
Heat is the enemy, and it starts immediately
The moment an animal dies, bacteria in the gut and on the skin begin to multiply, and they multiply fastest in warmth. On a cool November morning near freezing, a whitetail can lie for a couple of hours without harm. On a September elk hunt at sixty degrees, the clock is running from the first minute. Bacteria work their way into the hair follicles, and once the follicle loosens its grip, the hair slides out at the lightest touch. Taxidermists call this slip, and it is the single most common reason a cape is rejected.
So the first priority is cooling. Field dress the animal promptly to let the body heat escape, get it into shade, and prop the chest cavity open. If snow is available, pack it in. If the animal will be left overnight, hang it if you can, off the ground and in moving air. Do not leave it in a truck bed under the sun while celebrations take an hour.
Handle the head like it matters
Dragging a deer by the antlers or by a rope around the neck is a tradition we have to unlearn. The rope abrades the hair on the throat, the ground wears the brisket, and rocks and stubs tear the ears and the skin around the eyes. Those areas are exactly what the finished shoulder mount shows. If dragging cannot be avoided, drag from the rear legs with the head trailing, or better, slide the animal onto a sled, a tarp or a game cart.
The same caution applies to the eyes and the nose. Do not let the head rest on a rock, do not stack gear on top of it, and do not let blood dry in the hair around the face if you can wipe it off with snow or a damp cloth. Dried blood sets the hair in clumps that make the tanner’s job harder.
Where to cut, and where not to
Most ruined capes are ruined by a knife in the wrong place. For a shoulder mount, the golden rule is to leave more hide than seems reasonable. Cut around the body behind the front legs, at least a hand’s width behind the shoulder, and ideally at the middle of the rib cage. Then cut a circle around each front leg above the knee, and make a single incision up the back of the neck to the base of the skull. Never cut up the throat or the brisket. The taxidermist sews the seam along the back, where the hair lies down and hides the stitches; a seam on the throat is almost impossible to conceal.
Peel the hide forward toward the head, working with your fingers and the knife held flat, until you reach the skull. Then stop. Do not try to skin the head yourself unless you have been shown how; the work around the eyes, tear ducts and lips is fine and unforgiving. Cut through the neck a few inches below the skull, and take the head and cape together to the studio. If the head is left on the body and the cape is folded back, the taxidermist will do the rest.
Salt, cold and the limits of both
If the animal is going to a studio within a day or two and the weather is cold, you need do nothing but keep the cape cool, dry and away from direct sun. Beyond that window, there are two tools: salt and freezing.
Freezing is the simpler choice for most hunters. Fold the cape hair side out with the skin against skin, roll it loosely, put it in a plastic bag with the air pressed out, and freeze it. A cape stored this way keeps for months. Keep the head with it. Never freeze a cape that is wet with rain or snow if you can help it, since ice crystals damage the skin, and never leave a frozen cape to thaw and refreeze.
Salting is the backcountry solution, and it only works on a cape that has been fully skinned, with the ears turned and the lips split, which is a job for someone who knows how. Applied to a cape with the head still in, salt cannot reach the areas that spoil first. If you are on a remote hunt of several days, arrange in advance for a guide or a partner with the skill, and carry ten pounds of fine, plain salt per deer-sized cape.
The signs of trouble
A cape that smells sour, feels slimy on the skin side, or shows a greenish tint on the flesh has already begun to spoil. Pull a pinch of hair on the neck or the brisket. If it comes away in your fingers with no resistance, the cape has slipped and will not make a mount. Better to know then than to pay a deposit on a lost cause.
Warning signs to watch for on a warm hunt include:
- Hair that lifts easily from the belly or the inside of the legs, the first areas to go.
- A sour or ammonia smell from the neck folds.
- Bloated body cavity, which means bacterial gas and rapid warming.
- Blood pooled under the skin of the neck from a low neck shot, which softens the hide.
Photographs before anything else
One last piece of field craft costs nothing. Before you touch the knife, take a series of clear photographs of the animal’s head from the front, both sides, and slightly above, with the eyes and the nose in focus. A taxidermist works from reference, and every animal is an individual: the set of the ears, the depth of the brow, the shape of the nose pad, a scar on the cheek. Photographs of your animal, rather than a generic reference, allow the finished mount to look like the deer or the bear you actually met in the woods. That, in the end, is the whole point of the craft.